Skip to content
EasyNo solderingGame Boy Color

IPS screen in a Game Boy Color, no soldering

Turn a dim, hard-to-read Game Boy Color into a bright, modern handheld, no iron required. This is the exact build behind my Atomic Purple GBC: a drop-in IPS screen, a fresh shell, and USB-C rechargeable batteries.

Huge thanks to the creator of this video tutorial, which walks through the whole build on camera. If the written steps below leave you unsure at any point, watch along.

Watch the video tutorial
Difficulty
Easy
Soldering
None
Time
about 60 minutes
Cost
$48.42

Before you start

  • All you need is a working board. Cosmetic condition does not matter one bit, the shell, lens and buttons all get replaced, so a scratched, yellowed, ugly GBC is a perfect (and cheaper) donor.
  • Buy a 'drop-in' or '2.45"' IPS kit so it fits the original opening with no trimming. Larger 'laminated' kits look great but need shell cutting and are a harder job.
  • Keep the original shell, lens and buttons in a labelled box. Originality matters if you ever sell, and it costs you nothing to store them.
  • Work on a clean, well-lit surface. The only special tool is a tri-wing screwdriver for the case screws and a small Phillips for the board.

Steps

  1. Step 1: Open the console

    Remove the battery cover and cells. Undo the six case screws with a tri-wing (Y-tip) screwdriver and lift the back off. Take a photo of the ribbon cable and board orientation before you touch anything, it makes reassembly obvious.

  2. Step 2: Move the board into the new shell

    Unscrew the mainboard, unclip the old screen's ribbon, and lift the board out. Fit the new buttons and silicone membranes into the IPS-ready shell, then seat the original board on top. This is also the moment to clean the battery contacts and button pads with isopropyl alcohol.

  3. Step 3: Install the drop-in IPS screen

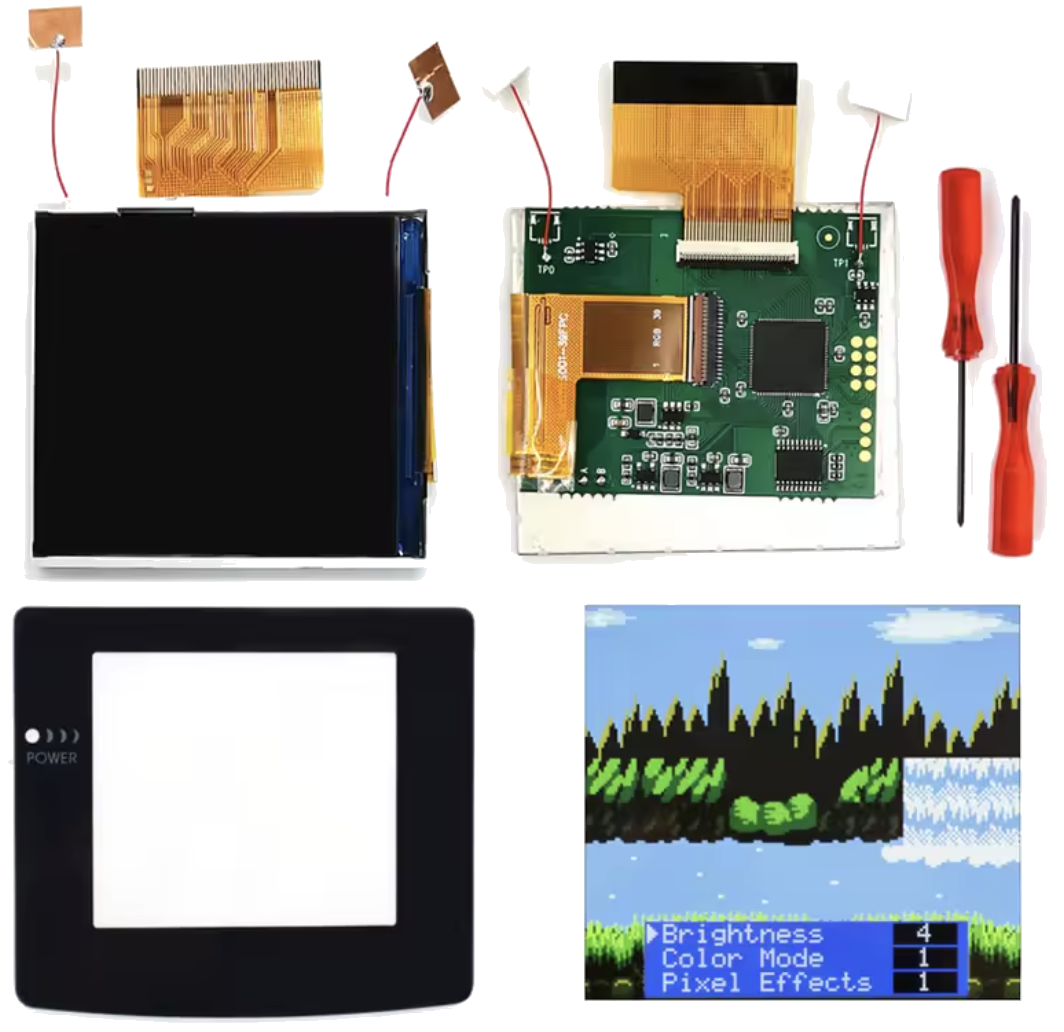
    Connect the IPS ribbon to the board's screen connector and sit the panel in the shell's screen opening. A 2.45" drop-in panel is the same size as the original, so it drops straight in with no shell trimming and no foam shims to fuss over.

  4. Step 4: Stick the touch sensor pads

    Peel and place the capacitive touch pads on the inside of the shell where the kit's instructions mark them. These let you adjust brightness and switch colour palettes from an on-screen menu by tapping the front of the shell, no extra buttons or wiring.

  5. Step 5: Close it up and power on

    Route the ribbons so nothing is pinched, screw the board down, and clip the shell halves together. Fit 1.5 V lithium AA batteries with built-in USB-C charging, power on, and set your brightness. That's it, a bright, modern GBC in about an hour.

Parts used in this build

Some links may be affiliate links. Prices are not live and may change.

IPS Screen Kit 2.45
Staff pick

IPS Screen Kit 2.45

Hispeedido · Screen

A true drop-in: same 2.45" size as the original, so it needs no shell cutting. Touch-pad brightness control and a clean, bright picture. This is the exact screen in my Atomic Purple build.

USD 48.42

Price checked on 2026-11-05

View IPS Screen Kit 2.45

See the full “exact kit I used” list